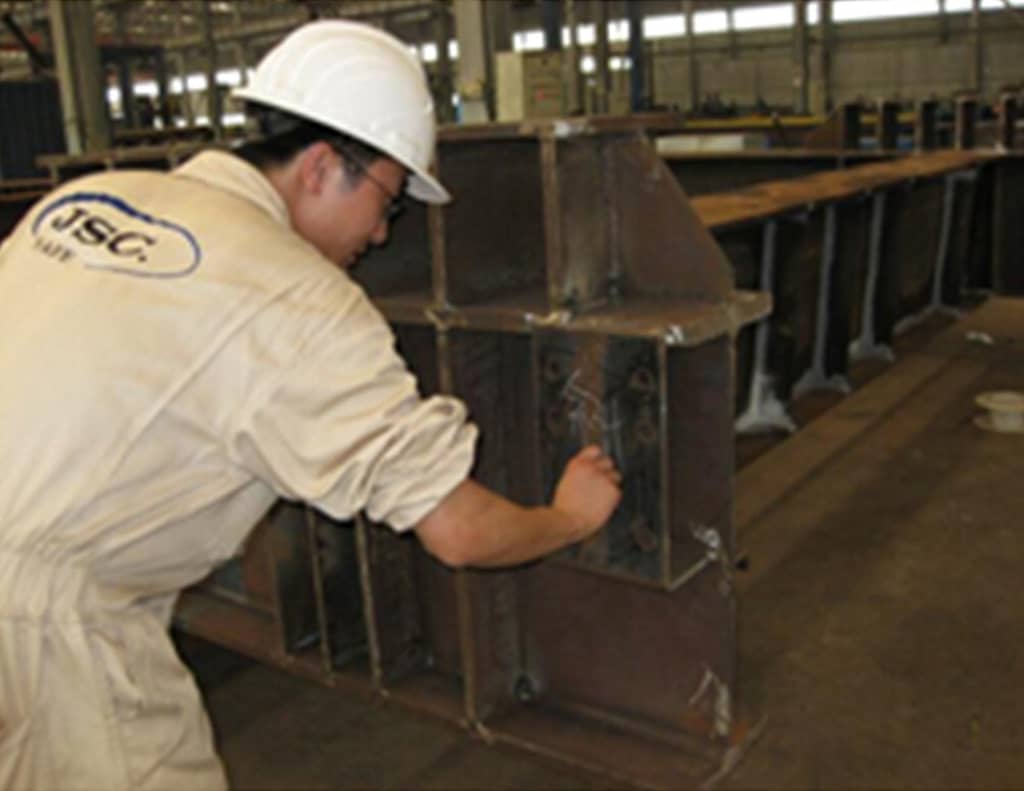
Weld Inspection – Efficiency
1 Cut – Weld Inspection – Efficiency
Weld Inspection – Efficiency? Generally, flame cutting, as the main cutting technique, is the removal of more manageable welds from larger structures. In this case, it is important to cut macro/micro slices through the abrasive wet cutting process and to cut them well without being affected by any thermal burns caused by the main hot cutting operation.
In order to minimize the deformation caused by cutting and the risk of thermal burn of cutting surface, it is usually recommended to select the appropriate cutting wheel and cutting parameters.
2 Mosaic – Weld Inspection – Efficiency

The macroscopic sections used for procedural testing were prepared without mosaic, due to time constraints, and the finish from fine grinding was sufficient for macroscopic examination. If semi-automatic preparation is chosen, a number of sample holders are required to accommodate the unmounted sections of the welded joints.
If mosaics are required, hot press mosaics or cold mosaics can be selected. However, relatively large cross sections are not common in welding inspection. In this case, a cold-set rectangular model can be used.
3 Mechanical sample preparation
Traditionally, macroscopically inspected welded sections are manually sanded to 1,200 mesh on continuously finer grades of silicon carbide sandpaper. For larger samples or longer grinding times, resin-bonded diamond circular saw blades offer some advantages in terms of life time and constant removal rate.
4 Polishing
For microscopic examination and hardness crosscutting, polishing is also included in the preparation requirements. A welded specimen may cause a distortion of the hardness of many materials passing through it, either because of a phase change during welding, or because the joint contains different metals. The weld metal may contain deposits or some inherent weld defects. Therefore, it is important that the preparation method should ensure that the polishing gaps between the microstructure features are minimal and that all microstructure elements are retained. In this regard, the preferred use of semi-automatic or automatic preparation equipment enables the consistency and reproducibility of the polishing to facilitate accurate microstructure analysis.
Learn more our project quality managemet, QAQC and third party inspection (TPI), NDT practices thru below link.-
